Ingredients & Recipes
How to Make Castile Soap (100% Olive Oil)
Learn how to make castile soap with a simple 100% olive oil recipe. Beginner-friendly cold process guide with lye safety, step-by-step instructions, and cure...
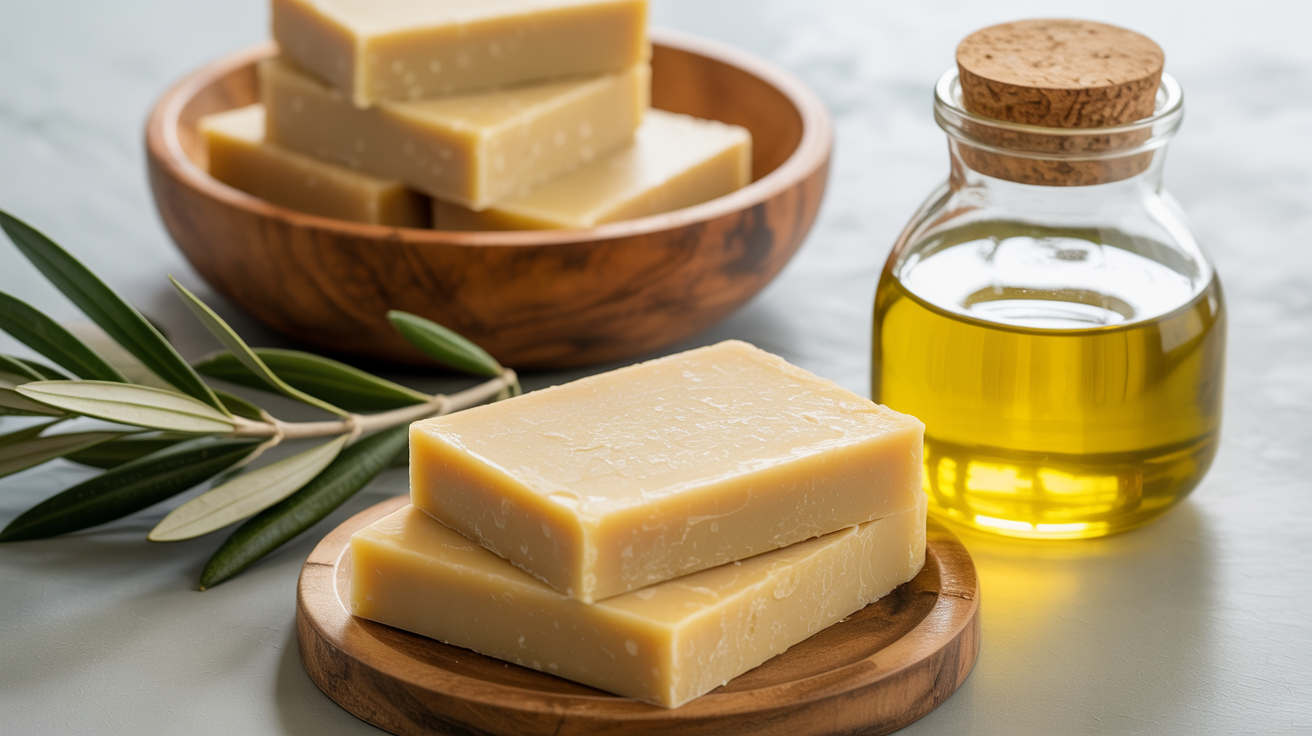
Castile soap is one of the oldest soap recipes in existence, and it remains popular for one simple reason: a bar made entirely from olive oil is genuinely mild. The lather is creamy rather than fluffy, it rinses clean without stripping, and it is gentle enough for most skin types. If you have wanted to try cold-process soap but felt overwhelmed by multi-oil recipes, a pure castile batch is a reasonable place to start. You are working with a single oil, so there are fewer variables to manage.
That said, castile soap has one trade-off that surprises beginners: it takes longer to harden and cure than most other recipes. You will want to plan for a minimum of four to six weeks in the mold and on the rack, and many soapers prefer to wait three to six months before using their bars. The patience is worth it. Read through the full guide before you begin, gather your safety gear, and run the numbers through a lye calculator before you mix anything.
What Makes Castile Soap Different
Olive oil is high in oleic acid, a monounsaturated fatty acid that gives soap its skin-conditioning character. It produces a bar that draws moisture toward the skin rather than pulling it away, which is why pure castile soap has a long track record with people who have dry or sensitive skin.
The flip side of all that oleic acid is that castile soap traces slowly and stays soft for longer than bars made with lauric-rich oils like coconut or palm. Fresh out of the mold, a castile bar can feel almost waxy or even a little sticky. That texture firms up during cure, but you need to give it real time. The high oleic content also means the lather will feel slippery and creamy rather than big and bubbly. That is not a defect; it is just what 100% olive oil soap does.
If you want to learn more about how individual oils affect lather, hardness, and conditioning in a bar, the best oils for soap making and what each one does is a useful reference to read alongside this guide.
Safety First: Working with Lye
Cold-process soap uses sodium hydroxide (lye) to turn oils into soap through a chemical reaction called saponification. Lye is a caustic alkali: it can cause serious chemical burns on contact with skin and eyes, and it releases fumes when dissolved in water. None of this should scare you away, but it does mean you need to treat it with respect every time you work with it.
Before you touch lye, put on:
- Safety goggles that seal around your eyes (not just glasses)
- Nitrile or rubber gloves
- Long sleeves and closed-toe shoes
Work in a ventilated space, away from children and pets. When you mix lye and water, always add the lye to the water, never the other way around. Pouring water onto lye causes a violent reaction that can splatter caustic liquid. Add lye slowly and stir gently. The solution will heat up rapidly to around 180 to 200 degrees Fahrenheit (82 to 93 degrees Celsius), so set the container in a safe spot and let it cool before use.
Before you make any recipe, run the oil weight and superfat percentage through a reputable lye calculator. The numbers in this guide use a 5% superfat, which leaves a small cushion of unsaponified oil in the finished bar for extra mildness, but you should always verify them for your specific ingredients.
Ingredients and Equipment
For a small test batch of about ten standard bars (approximately 500 grams of oil):
| Ingredient | Amount |
|---|---|
| Olive oil (pure or extra light) | 500 g (17.6 oz) |
| Sodium hydroxide (lye, 99% pure) | 64 g (2.3 oz) |
| Distilled water | 165 g (5.8 oz) |
These amounts are calculated at a 5% superfat and a 33% water-to-oil ratio. Always verify them in a lye calculator before you begin. Use a kitchen scale accurate to at least one gram; volume measurements are not reliable for soap making.
Equipment you will need:
- Digital kitchen scale
- Two heat-safe containers (glass or HDPE plastic) for lye solution and oils
- Stick blender (immersion blender)
- Silicone spatula
- Thermometer (infrared or probe)
- Soap mold (loaf mold, lined wooden box, or individual cavity molds)
- Soap cutter or sharp knife
Use stainless steel, silicone, glass, or HDPE plastic for everything that touches lye. Avoid aluminum, which reacts with sodium hydroxide.
How to Make Castile Soap: Step by Step
-
Suit up first. Goggles and gloves before you open the lye container. No exceptions.
-
Weigh your water into a heat-safe container. Set it in the sink or on a heat-proof surface.
-
Weigh your lye into a separate dry container. Add the lye slowly into the water, stirring as you go. The solution will turn cloudy and heat up. Set it aside to cool to around 90 to 110 degrees Fahrenheit (32 to 43 degrees Celsius).
-
Weigh your olive oil into your mixing container. Room-temperature olive oil is fine; you do not need to heat it. Castile soap traces best when both the lye solution and the oil are close in temperature, somewhere in the 90 to 110 F (32 to 43 C) range.
-
Check temperatures. Once the lye solution has cooled enough, verify that both the oils and the lye solution are within about 10 degrees of each other.
-
Pour the lye solution slowly into the oils, not the other way around. Use your spatula to scrape every bit in.
-
Stick blend in short bursts. Castile soap is famously slow to trace, so do not panic if nothing seems to happen at first. Alternate stick blending with hand stirring. You are waiting for the batter to reach light trace, which looks like a thin custard or melted ice cream and leaves a faint line when you drizzle some across the surface.
-
Add any fragrance or colorant at light trace if you plan to use them, then blend or stir to incorporate.
-
Pour into your mold. Tap the mold gently on the counter to release air pockets, smooth the top with a spatula, and cover loosely with cardboard or a piece of plastic wrap.
-
Insulate for 24 to 48 hours. Wrap the mold in a towel to help the soap go through gel phase, which can produce a slightly more translucent, evenly-colored bar. This step is optional but common.
-
Unmold carefully. Pure castile soap can stay soft for several days or even a few weeks. If the bar feels too soft to cut cleanly, wait another day or two. When you do cut it, the bars may still feel waxy at the center, which is normal.
-
Cure on a rack. Place bars on a slatted wooden rack or a piece of parchment in a cool, dry spot with good airflow. Flip them every week so air reaches all sides.
Curing Castile Soap
Standard cold-process soap needs at least four weeks to finish saponification and let excess water evaporate. Castile soap needs that minimum and usually benefits from much longer. At six weeks, bars are safe to use but may still feel a little soft and draggy. At three months, they firm up noticeably. At six months or beyond, a castile bar becomes hard and almost waxy-smooth, and the lather improves considerably.
If you can, make a batch of castile soap several months before you want to use it. Label your bars with the date so you can track the cure. Before using any bar, do a quick zap test: touch the tip of your tongue to the bar for a split second. A tingle or zap means unsaponified lye is still present and the bar needs more cure time. No zap means the soap is safe.
For more detail on building your first cold-process recipe from scratch, a simple beginner cold process soap recipe walks through the full process with additional guidance on reading a recipe and understanding your results.
Frequently Asked Questions
Why is my castile soap still soft after two weeks in the mold?
This is normal. Olive oil soap saponifies and firms up more slowly than recipes that include hard oils like coconut or palm. Leave it in the mold longer, up to three or four weeks if needed, and then move it to a cure rack. The extended cure is what builds hardness.
Can I use extra virgin olive oil for castile soap?
Yes, though many soapers prefer pure or extra light olive oil because those grades trace a bit faster and tend to produce bars without a greenish tint. Extra virgin works fine and some people prefer it; the resulting soap may be slightly darker and smell faintly of olives when first made, though the scent usually fades during cure.
Why does my castile soap lather feel different from store-bought castile?
Liquid castile soap (like the kind in a bottle) is made with potassium hydroxide rather than sodium hydroxide, which produces a soft or liquid soap rather than a hard bar. The oils can be similar, but the lye is different. Hard-bar castile made with sodium hydroxide will have a creamier, denser lather than a liquid formulation.
Do I need to superfat castile soap?
You do not have to, but most soapers use a superfat of 5% to 8% for castile. A higher superfat leaves more uncombined olive oil in the bar, which adds to the conditioning feel. Very high superfats (above 10%) can make the bar prone to going rancid faster. Five percent is a solid starting point.
How long will cured castile soap last?
A well-cured, dry-stored castile bar can last a year or longer. Olive oil is relatively stable and does not go rancid as quickly as some other oils. Store finished bars in a cool, dry spot away from direct light. Between uses, let the bar drain and dry completely rather than sitting in a puddle of water, which accelerates softening.