Melt & Pour
How to Make Melt and Pour Soap: A Step-by-Step Guide
Learn how to make melt and pour soap from scratch with this beginner-friendly guide. No lye handling required — just melt, color, scent, pour, and unmold.
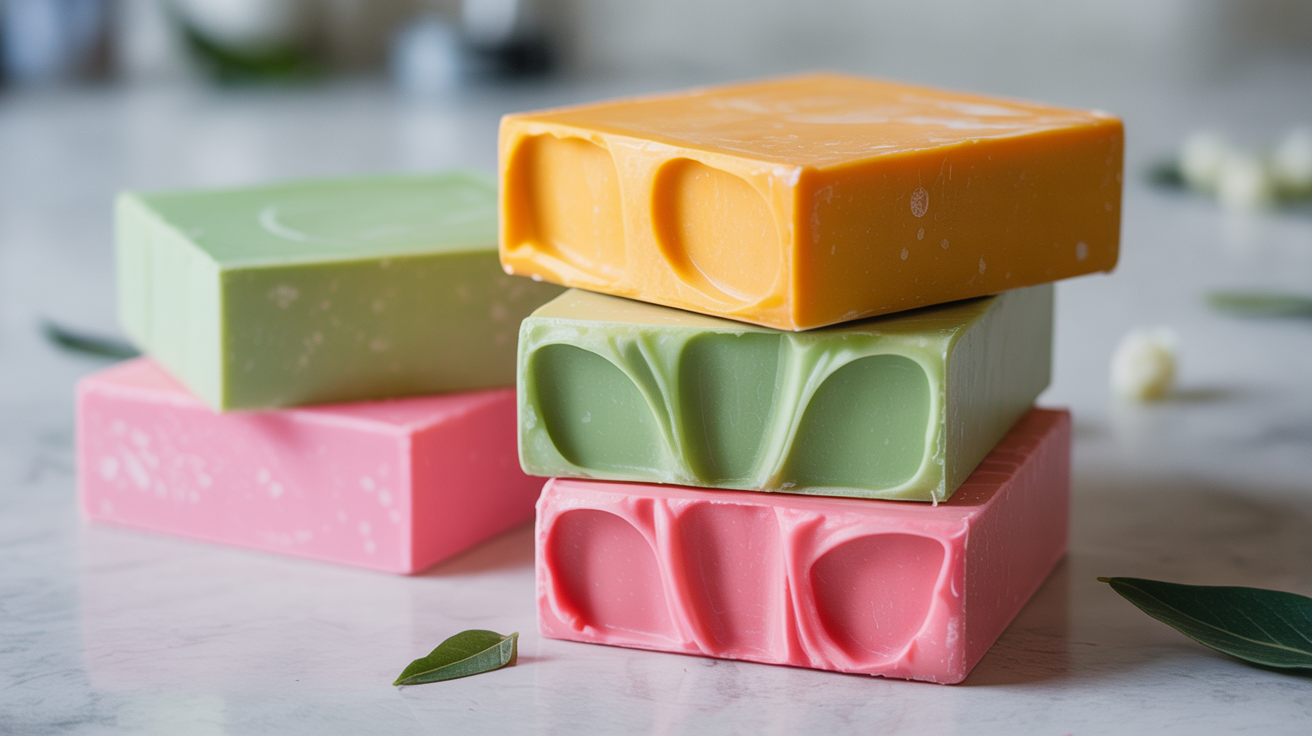
Melt and pour soap is exactly what it sounds like: you melt a pre-made soap base, add color and fragrance, pour it into a mold, and let it set. No lye measuring, no saponification math, no safety goggles required during mixing. The base has already gone through the lye process at the factory, so what arrives at your door is stable, skin-safe, and ready to customize.
This makes it the natural starting point for anyone new to soap making. You can produce a finished bar in about two hours, and it's usable the same day, no weeks-long cure time like cold-process soap.
Here's how to do it from start to finish.
What You Need Before You Start
Gather everything before you heat anything. Once the base is melted, you're working on a short clock before it cools.
Equipment
- Microwave-safe glass measuring cup or double boiler setup
- Kitchen thermometer (infrared or probe)
- Silicone spatula
- Soap molds (silicone molds release most easily)
- Isopropyl alcohol (91% or 99%) in a small spray bottle
- Sharp knife or soap cutter for cubing the base
Materials
- Melt and pour soap base, choose one that fits your skin type and goals. If you're not sure where to start, see our guide to the best melt and pour soap bases for beginners.
- Colorant, soap-safe lab dyes or micas work well; avoid candle dyes
- Fragrance or essential oil, use at the supplier's recommended usage rate (typically 1–3% of the base weight)
A simple starting recipe:
- 500 g (about 17.6 oz) clear or white melt and pour base
- 5–15 ml fragrance oil (1–3%)
- Colorant to preference
This fills roughly four to six standard bar molds depending on cavity size.
Step-by-Step: How to Make Melt and Pour Soap
Work clean and work calmly. The process is forgiving, but a few things can go wrong if you rush, particularly overheating the base or pouring too hot into your molds.
Step 1: Cut the Base into Chunks
- Remove the soap base from its packaging and place it on a clean cutting board.
- Cut it into roughly 1-inch cubes. Smaller pieces melt faster and more evenly, which reduces the chance of scorching.
- Weigh out your desired amount and transfer the cubes to your melting vessel.
Step 2: Melt the Base
You have two options: microwave or double boiler.
Microwave method (faster):
- Heat the cubed base on 30-second bursts at medium power.
- Stir after each burst.
- Stop heating once the base reaches 120–140°F (49–60°C) and is fully liquid.
- Do not exceed 160°F (71°C). Overheating causes the base to "sweat" excessively in the mold, turns it cloudy, and can degrade the lathering properties.
Double boiler method (more control):
- Place your melting vessel over a pot of gently simmering water.
- Stir occasionally as the base melts.
- Pull it off the heat once you hit 120–140°F (49–60°C).
Important: Melted soap base is hot enough to cause burns. Handle the vessel carefully, and keep children and pets out of your workspace while the base is liquid.
Step 3: Add Color
- Let the melted base cool slightly, around 120–130°F (49–54°C) is ideal for adding color.
- Add a small amount of colorant. Start with less than you think you need; you can always add more.
- Stir thoroughly until the color is fully dissolved and even. Streaks usually mean the color needs more mixing.
For in-depth color techniques, including layering and swirling, see how to color melt and pour soap.
Step 4: Add Fragrance or Essential Oil
- With the base still around 120–130°F (49–54°C), add your fragrance or essential oil.
- Stir gently but thoroughly for 30–60 seconds. Vigorous stirring at this stage introduces air bubbles.
- Stick to the supplier's recommended usage rate. Too much fragrance can cause the soap to seize, sweat, or irritate skin.
For guidance on choosing and measuring scents, see how to scent melt and pour soap.
Step 5: Spritz the Molds and Pour
- Lightly spray the inside of your molds with isopropyl alcohol. This helps reduce surface bubbles on the finished bar.
- Pour the soap slowly and steadily into each mold cavity. Pouring from a low height reduces splashing and air inclusion.
- Fill each cavity to the top but don't overflow.
Step 6: Spray the Surface with Alcohol
Immediately after pouring, mist the top of each bar with isopropyl alcohol. This pops the small bubbles that form on the surface. You'll see them disappear almost instantly. One or two light sprays is enough, don't saturate the surface.
Step 7: Let the Soap Set
- Leave the molds undisturbed at room temperature for at least 1 hour. Most bars will be firm enough to unmold in 1–2 hours; thicker bars may need 3–4 hours.
- You can speed up setting by placing the molds in the refrigerator for 20–30 minutes, though this can sometimes cause condensation on the surface.
- Avoid freezing, it can cause cracking.
Step 8: Unmold and Use
- Gently flex the silicone mold to release each bar. If a bar is sticking, give it more time rather than forcing it.
- If you used a loaf mold, slice the loaf into individual bars with a sharp knife.
- Your soap is ready to use immediately. Melt and pour soap requires no cure time because the saponification reaction already happened during manufacturing.
Tips for Better Results
Getting the basics right is enough for a great first batch. These refinements help once you're comfortable with the process.
Work in a Cool Room
A warm environment slows the setting time and can cause surface sweating. A workspace around 65–70°F (18–21°C) is ideal.
Avoid Overheating
The most common beginner mistake is heating the base too aggressively. A scorched base turns yellow or develops a "cooked" smell and loses some of its smoothness. Low and slow wins here.
Keep a Log
Write down the colorant amount, fragrance percentage, and any observations about the finished bar. This makes it easy to repeat a batch you love or troubleshoot one that didn't turn out right.
Packaging
Melt and pour bars can "sweat" if left exposed to humid air (the glycerin in the base attracts moisture). Wrap finished bars tightly in plastic wrap or shrink wrap to keep them looking clean on the shelf.
Common Beginner Mistakes
Even with a simple process, a few things catch new makers off guard.
Pouring too hot. If the base is above 145°F (63°C) when it goes into the mold, it can melt through thin silicone molds, cause excessive shrinkage, or ruin any additives (like dried flowers) you've embedded.
Skipping the alcohol spray. The bubbles that form on the poured surface will set into the finished bar and leave small pits. A quick spritz takes two seconds and makes a visible difference.
Too much fragrance. More isn't better. Exceeding the recommended usage rate doesn't make the soap smell stronger in the shower, it can cause the fragrance to separate, leaving oily spots or a sticky surface.
Not mixing color thoroughly. Mica and dye need real contact time with the hot base to dissolve fully. Take an extra 30 seconds to stir.
Frequently Asked Questions
Does melt and pour soap contain lye?
Not in any active form. All soap is made with lye at some point, it's a basic chemistry requirement. But in melt and pour bases, the lye has already reacted completely with the oils during manufacturing. What you work with is finished soap, with no free lye remaining. This is why melt and pour is considered a safe starting point for beginners.
How long does melt and pour soap last?
Most commercial melt and pour bases have a shelf life of 1–2 years when stored properly (cool, dry, and sealed). Finished bars, if wrapped to prevent sweating, will last just as long. Fragrance may fade slightly over time, but the soap itself remains usable.
Can I add fresh ingredients like milk, honey, or botanicals?
Yes, with some care. Honey and powdered milk can be stirred in at the same stage as your fragrance. Fresh ingredients (juice, purees, fresh herbs) introduce water and organic material that can cause spoilage. If you want botanical embeds, use dried botanicals rather than fresh. Place them in the bottom of the mold before pouring, or press them gently onto the top of a poured bar.
Why is my soap sweating?
Melt and pour bases are high in glycerin, which pulls moisture from the air. This is normal, it doesn't mean the soap is bad. Wrapping bars in plastic wrap immediately after they've fully set will prevent it. If a bar is already sweating, pat it dry and wrap it.
Can I remelt melt and pour soap if I don't like how it turned out?
Yes. This is one of the advantages of melt and pour. If a batch sets with surface defects, wrong color, or an uneven pour, you can cut it up and melt it again. Added fragrance will carry through to the remelt, though it may be slightly weaker. Color generally holds well. Remelt carefully to avoid overheating.