Troubleshooting & Safety
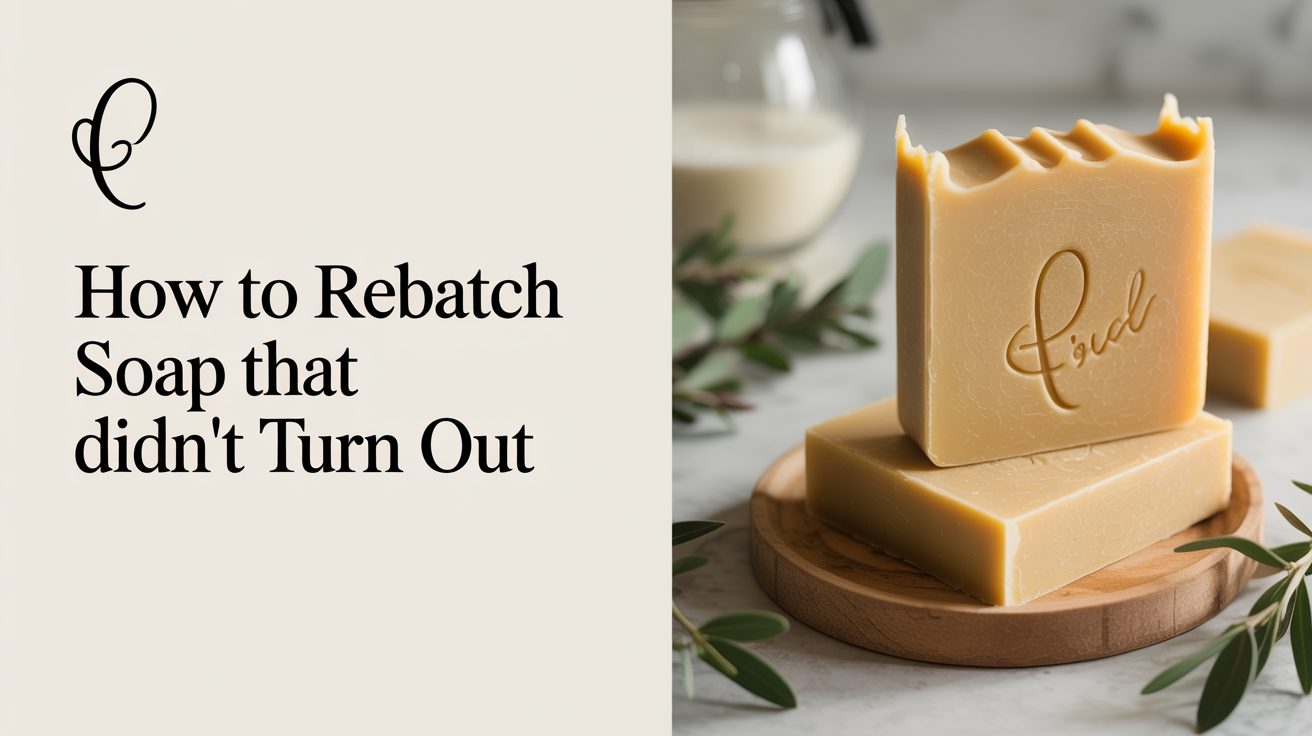
How to Rebatch Soap That Didn't Turn Out
Rebatching soap turns a seized, separated, or crumbly batch into usable bars. Here's how to do it safely, step by step.
A seized batch that looks like mashed potatoes, a loaf full of oil pockets, bars so soft they bend when you try to cut them. These are disappointing, but they are rarely hopeless. Rebatching (also called hot-process rescue) gives you a second chance by cooking the soap down, correcting what went wrong, and pressing it into a new mold to cure properly.
The result is not quite the same as a cold-process bar that went right the first time. Rebatched soap tends to have a rustic, textured surface and a shorter cure window than a fresh batch. But it is functional soap, and turning a failed batch into something usable is far better than throwing it out.
What Rebatching Actually Does
When cold-process soap fails, the oils and lye solution usually have not finished saponifying. The batch may have seized before you could pour it, or separated into layers, or traced too fast and set up lumpy. In each case there is still unreacted lye or unsaponified oil sitting in the loaf.
Rebatching applies gentle, sustained heat to push saponification to completion. The water in the batch becomes steam, the heat accelerates the chemical reaction, and you end up with fully saponified soap paste that you can press into molds. Because the saponification is driven to completion by heat rather than time, the bar can be used sooner than a standard cold-process loaf, though a short cure of two to four weeks is still worthwhile for hardness and water evaporation.
Note that rebatching cannot fix every problem. If you used the wrong amount of lye or an incorrect oil weight, the underlying recipe error remains. Run any rescued batch through a zap test or pH check before using or gifting it.
Deciding Whether to Rebatch
Not every failed batch needs to go through rebatch. Consider rebatching if your soap:
- Seized in the pot before you could pour it into the mold
- Separated into a greasy liquid layer and a solid lump
- Set up crumbly, grainy, or with white chalky streaks (partial saponification)
- Is still soft and sticky after 48 to 72 hours in the mold
A batch that simply has cosmetic flaws (uneven color, a cracked top, air bubbles) does not need to be rebatched. Cut it, cure it, and use it. Rebatching is for soap that genuinely failed to saponify correctly.
Before you start, read up on why the batch failed. If it seized because of a fragrance oil, you can skip that fragrance during the rebatch or add it at the very end at a lower rate. If it separated, review the causes and fixes for soap separation so the same issue does not repeat.
Step-by-Step: How to Rebatch Soap
Safety note: Partially saponified soap still contains active lye. Wear your goggles and gloves the entire time you handle the raw batch, and work in a ventilated space away from children and pets. Once the rebatch is fully cooked and tests done, the finished soap is safe to handle bare-handed.
What you need:
- A slow cooker, oven set to 170 to 200 F (77 to 93 C), or a large pot for a water bath
- Stainless steel or silicone spoon for stirring
- Spray bottle of distilled water
- A loaf or slab mold lined with parchment
- Gloves and goggles
Step 1: Grate or chop the soap. If your batch is a solid loaf, unmold it and chop or grate it into small, roughly even pieces. Smaller pieces melt and cook more evenly. If the batch never set and is still a paste or liquid, it can go straight into the cooker.
Step 2: Add a small amount of water. Place the soap pieces in your slow cooker or double boiler. Add 1 to 2 tablespoons of distilled water per pound (450 g) of soap. Too much water extends your cook time and can make the final bar sweat during cure; too little and the batch may scorch before it melts evenly. If the original batch has extra water trapped in it (visible liquid pooling), skip the extra water entirely.
Step 3: Apply low, steady heat. Set the slow cooker to low, or your oven to 170 F (77 C). Cover the pot loosely to trap steam. Check every 20 to 30 minutes, stirring gently each time. The soap will begin to melt around the edges first, then soften toward the center. This process usually takes 45 minutes to two hours depending on the batch size.
Step 4: Cook until fully translucent and paste-like. You are looking for a consistency like mashed potatoes or Vaseline: thick, glossy, and uniform with no visible dry or greasy pockets. When you scrape a spoon along the bottom and the soap holds together in a smooth glob, it is done. Grainy or crumbly texture means more time is needed. A fully saponified soap paste turns slightly translucent.
Step 5: Add any late-stage additions. Once the paste reaches the right consistency and is off the heat, work quickly. Stir in fragrance at about 0.5 to 1 oz per pound (14 to 28 g per 450 g), colorants, or botanicals. Keep in mind that delicate botanicals and some synthetic dyes may not survive the heat as well as they would in a cold-process batch, so your color choices are limited. If you are worried about the seized fragrance that caused the original failure, this is the moment to leave it out or use a replacement.
Step 6: Press into the mold. Work fast, because rebatched soap stiffens quickly once it leaves the heat. Press it firmly into the mold with the back of a spoon or a gloved hand, pushing out any air pockets. Smooth the top as best you can. The surface will not be glassy like a poured cold-process loaf, but it will be even enough to use.
Step 7: Unmold and cure. Leave the soap in the mold for 24 to 48 hours. Unmold and cut when firm. Rebatched soap can often be used after one to two weeks, but a cure of three to four weeks will give you a harder, longer-lasting bar as the remaining water evaporates.
What to Adjust in a Rebatch
One of the benefits of rebatching is the chance to correct a recipe error, within limits.
| Problem in original batch | Rebatch adjustment |
|---|---|
| Seized from a high-acceleration fragrance | Omit the fragrance or substitute a non-accelerating one |
| Too much water (soft, slow to cure) | Skip extra water; cook a little longer to drive off moisture |
| Partial saponification (grainy, chalky) | Cook fully until paste is glossy; test before use |
| Oil pockets or separation | Stir thoroughly during cook; check for full incorporation |
| Superfat error (too greasy) | Not fixable through rebatch; test and document for next time |
If the recipe used the wrong lye amount, rebatching can help with a lye-heavy batch (the cooking drives saponification further) but cannot add lye back to a lye-light batch. An under-lyed bar will still be soft and greasy after a rebatch. In that case, do a zap test and, if it passes, cure and use it as a high-superfat conditioning bar.
Read more about lye safety before handling any batch that may be lye-heavy: lye safety for soap making covers the basics of protective gear and how to handle a caustic situation safely.
Curing and Testing After a Rebatch
Because the soap has been cooked, saponification is largely complete by the time it goes into the mold. Still, do not skip the zap test before you use the finished bars. Press a small fleck of cooled, cured soap to the tip of your tongue for one second. A sharp, unpleasant zap or tingle means free lye is still present and the batch needs more time (or may not be usable). No zap means the bar has finished saponifying and is safe to use.
You can also use pH strips: soap that tests above pH 10 to 11 may still be caustic. Finished soap generally lands between pH 9 and 10. Anything over 11 should get more cure time or be discarded.
Also check whether the original batch seized from a known cause like a fragrance oil or high-stearic recipe. Document what happened and what you changed so the same problem does not repeat.
Frequently Asked Questions
Can I rebatch melt-and-pour soap? Melt-and-pour soap is already fully saponified, so there is no lye rescue needed. You can re-melt it if it cracked or set unevenly, but that is simply re-melting, not a true rebatch. The process is much simpler: chop and melt in a microwave or double boiler, add colorants or fragrance if you like, and pour again.
Does rebatched soap need a full 4-to-6-week cure? Usually not, since the cooking completes saponification faster than cold-process air-curing. A cure of 2 to 4 weeks is typically enough for water to evaporate and the bar to harden. A harder bar lasts longer in the shower, so patience pays off even if it is not strictly required for safety.
Can I rebatch a soap that has been curing for several weeks? Yes. Grated, well-cured cold-process soap is one of the classic feedstocks for rebatching. It is actually easier to work with than a fresh failed batch because it is stable and fully saponified. You are essentially making a simple hot-process bar from scratch using pre-made soap shreds.
My rebatched soap has white streaks after it cools. Is that normal? White streaks or a soda ash-like layer on the surface are common in rebatched soap and are purely cosmetic. They do not affect the safety or performance of the bar. If they bother you, shave the surface with a cheese grater before packaging.
How do I know when the soap paste is done cooking? The clearest sign is texture: the paste should look like stiff, glossy mashed potatoes with no separate liquid or dry crumbly bits. You can do a quick zap test on a tiny cooled fleck mid-cook. If there is a strong zap, keep cooking and check again in 15 minutes. If there is no zap and the texture is uniform, the batch is done.