Getting Started
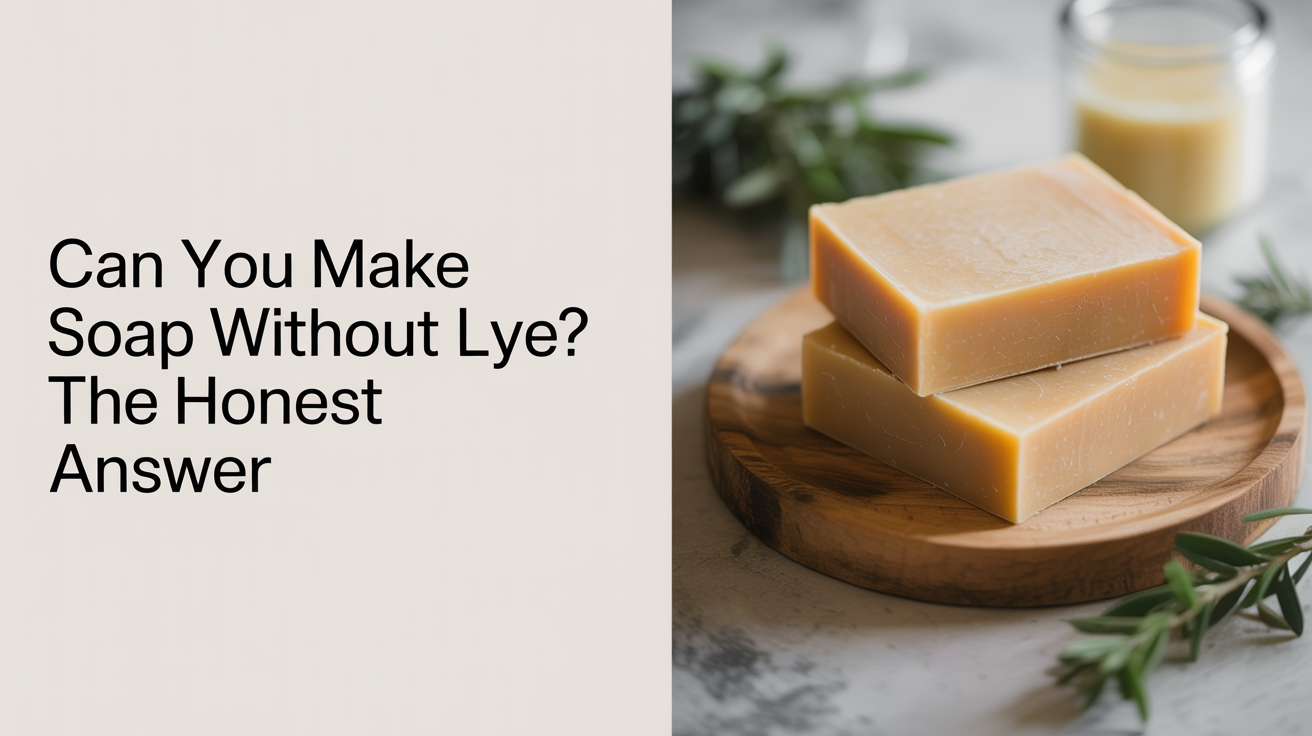
Can You Make Soap Without Lye? The Honest Answer
Can you make soap without lye? The short answer is no — but there's a beginner-friendly path that skips handling raw lye entirely. Here's what to know.
Here is the honest answer: no, you cannot make real soap without lye. Every bar of soap that exists was made using either sodium hydroxide (for hard bars) or potassium hydroxide (for liquid soap) at some point in its production. The lye reacts with fats in a process called saponification, and without that reaction, you end up with something closer to a lotion than a cleanser.
That said, there is a completely valid path for beginners who want to make soap at home without ever touching raw lye themselves. It is called melt and pour, and it gives you hands-on soap crafting experience while someone else has already handled the lye chemistry. Understanding why lye is non-negotiable also helps you decide when you are ready to step into cold process. This article covers both.
Why Lye Is Unavoidable in Soap Making
Soap is not just a cosmetic. It is a salt, created when an alkali reacts with fatty acids. The specific alkali for bar soap is sodium hydroxide, and the reaction is permanent: by the time a properly made cold-process bar has cured for four to six weeks, there is no active lye left in it. The lye has been fully consumed to create new soap molecules.
Products labeled "lye-free soap" are not actually made without lye. They are either:
- Detergents: synthetic cleansers made from petroleum or plant-derived surfactants, not soap
- Melt-and-pour soap bases: real soap made with lye by a manufacturer, sold to crafters in pre-made block form
- Glycerin soap: a subtype of melt and pour with added humectants, still soap-based
If a bar lathers and rinses like soap, lye was part of its making somewhere in the supply chain. There is no chemistry that bypasses this.
Melt and Pour: Real Soap Crafting, No Raw Lye Handling
Melt and pour is the route most beginners take when they want to skip direct lye work, and it is a legitimate craft in its own right. You purchase a pre-made soap base, melt it in a double boiler or microwave in short bursts, add fragrance, color, and botanicals, then pour it into molds and let it set.
Because saponification already happened at the factory, the base is stable and safe to handle without goggles or gloves. You still want to be careful around hot liquid (it can reach 160 to 170 F, or 70 to 77 C, when melted), but you are not working with a caustic chemical.
What you can and cannot control with melt and pour:
| Variable | Your control |
|---|---|
| Fragrance and essential oils | Full control (use manufacturer's usage rate, typically 1-3% by weight) |
| Color | Full control |
| Additives (oats, clay, herbs) | Full control |
| Oil blend / superfat | Not adjustable (set by the base manufacturer) |
| Lather quality | Limited (base determines the foundational bar) |
| Cure time | None needed; bars firm up within a few hours of pouring |
If you want to design the oil recipe from scratch and control the superfat percentage, you will eventually need to work with cold process and raw lye. But melt and pour teaches you mold sizing, fragrance calculation, color blending, and layering techniques that transfer directly to cold process later.
For a full overview of both methods side by side, see The Different Methods of Making Soap Explained.
What Cold Process Actually Requires
Cold-process soap making is where you control the entire recipe: which oils, what superfat percentage, how much water, and what fragrance load you use. The trade-off is that you mix raw sodium hydroxide with water yourself, which creates a lye solution that can cause serious chemical burns on contact.
If you decide to move into cold process, these safety practices are not optional:
- Wear safety goggles and chemical-resistant gloves every time you handle lye or raw lye solution
- Always add lye to water, never pour water into dry lye. Adding water to lye causes a violent, spattering reaction. The correct order is: measure water first, then slowly add the lye crystals to the water while stirring
- Work in a ventilated space away from children and pets; lye mixed with water releases fumes briefly
- Run every recipe through a reputable lye calculator before you make it. Two calculators to cross-reference: SoapCalc and Brambleberry's Lye Calculator. Never guess the lye amount
- Let finished bars cure fully (four to six weeks for cold process, or until a zap test on the tip of your tongue produces no tingle) before using or gifting them
The lye is fully consumed in a correctly made batch. A bar that has passed a zap test or pH check is safe to use on skin. The danger is in the making process, not the finished product.
For a complete walkthrough of the steps and equipment, How to Make Soap at Home: A Complete Beginner's Guide covers the full cold-process process from setup through unmolding.
Choosing Your Starting Point
If you are genuinely curious about soap making but not yet ready to handle lye, melt and pour is a practical, enjoyable starting point. You learn about mold sizing, fragrance usage rates (usually 1 oz per pound of base, or about 6% by weight), colorant amounts, and additive safety before adding lye chemistry to the mix.
If you already feel comfortable following precise measurements and safety protocols, cold process is accessible to beginners who prepare carefully. The key equipment list is short. You need a dedicated stick blender, a stainless steel or heavy plastic mixing bowl, a scale accurate to 0.1 g, a thermometer, and silicone molds or a lined wooden loaf mold.
For a checklist of what to gather before you start either method, Soap Making Supplies Every Beginner Needs walks through everything by category.
Neither path requires special credentials. Both require reading carefully and following your recipe exactly the first time through.
Frequently Asked Questions
Is melt-and-pour soap actually real soap?
Yes. Melt-and-pour soap bases are made from real saponified oils, the same chemical class as cold-process soap. The difference is that the manufacturer handled the lye step, and you purchase the finished base. The resulting bars lather and rinse as genuine soap, not synthetic detergent.
Can I add extra oils to a melt-and-pour base to change its properties?
Not in the way you would with cold process. Stirring extra oils into a melted base leaves them unsaponified. At low amounts (up to about 1% by weight) this can add a slight skin feel, but it may also make the bar go rancid faster or leave an oily film on skin. The oil blend in a melt-and-pour base is fixed.
Do I need a lye calculator if I am only using melt and pour?
No. Lye calculators are for cold-process and hot-process recipes where you are working out how much sodium or potassium hydroxide a specific oil blend requires. With melt and pour, the lye math was handled upstream by the base manufacturer. You only need to calculate fragrance and colorant percentages.
How do I know if a cold-process bar is safe to use?
The standard test is the zap test: touch the edge of a cured bar briefly to the tip of your tongue. If you feel a tingle or zap similar to a weak battery, the bar needs more cure time. No tingle means the lye has been fully consumed and the bar is safe. A pH strip reading below 10 is another indicator, though zap testing is more common in the hobby community.
What happens if I use too much lye in a cold-process recipe?
A lye-heavy bar is called a lye-heavy or caustic bar. It can cause skin irritation or burns, and it will often have a powdery or crumbly texture, or develop white, chalky spots called soda ash that penetrate beyond the surface. This is why running every recipe through a lye calculator and using a superfat of 5 to 8% is standard practice: the superfat provides a buffer of unsaponified oils that ensures no active lye remains in the finished bar.