Getting Started
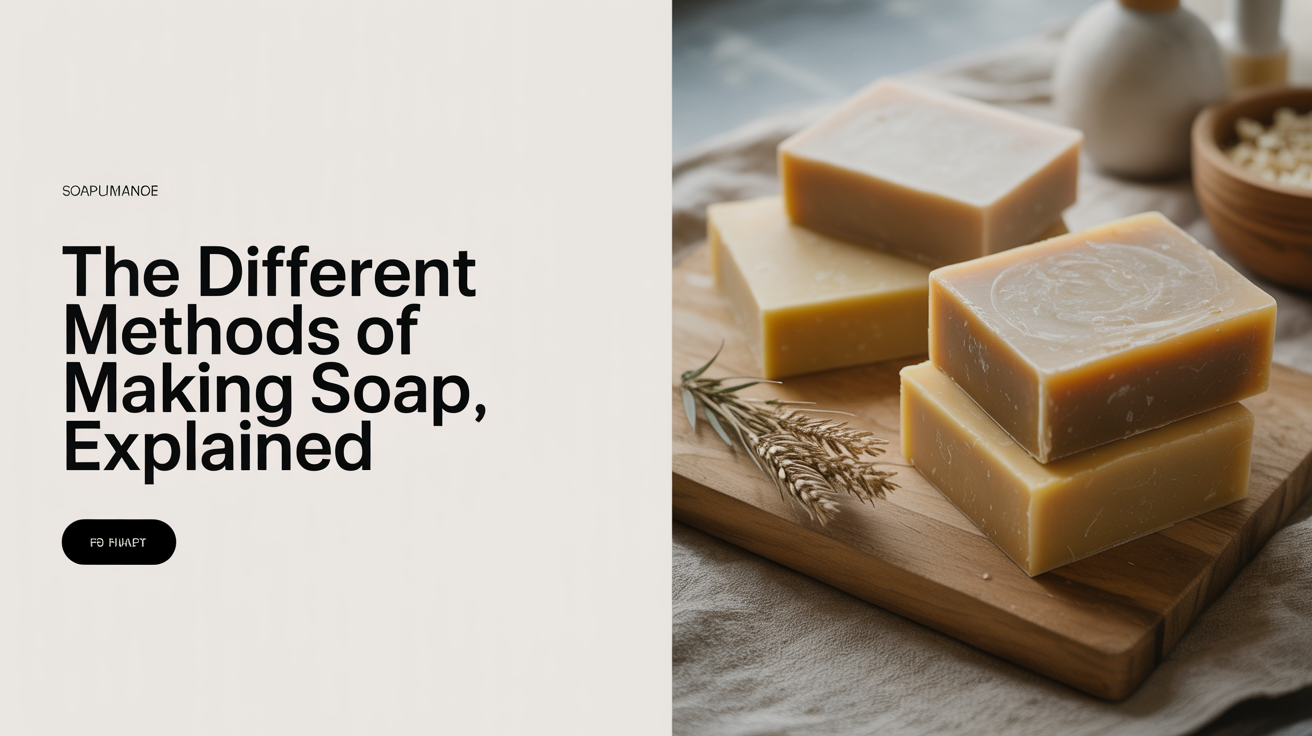
The Different Methods of Making Soap, Explained
A plain-language look at the four soap making methods (melt and pour, cold process, hot process, rebatching) so you can pick your starting point.
There are four main ways to make soap at home, and they're not equally suited to every beginner. Some let you skip handling lye entirely. Others give you full control over every ingredient but ask for more patience. Knowing the difference before you buy supplies will save you from a frustrating first batch.
Here's a quick comparison, followed by a closer look at each method.
Soap Making Methods at a Glance
| Method | Lye involved? | Difficulty | Time until usable | Best for |
|---|---|---|---|---|
| Melt and pour | No | Beginner | A few hours | First-timers, kids' projects |
| Cold process | Yes | Intermediate | 4–6 weeks (cure) | Full ingredient control |
| Hot process | Yes | Intermediate | 1–2 days | Impatient makers who want natural soap |
| Rebatching | Yes (already reacted) | Beginner–intermediate | 1–2 days | Fixing failed batches, rustic bars |
Melt and Pour: The Lye-Free Starting Point
Melt and pour (M&P) uses a pre-made soap base, a block of soap that has already gone through the saponification process in a factory. You melt it, customize it, and pour it into molds. No lye handling required.
How it works
You cut the base into chunks, melt it in a microwave or double boiler, then stir in colorants, fragrance, and any add-ins (oats, honey, botanicals). Once poured into molds, it sets in a few hours. Done. No curing time, no safety equipment beyond basic care with fragrance oils.
Difficulty
Very low. This is the right starting point if you want to make a gift today, if you have kids involved, or if you just want to understand how soap molds and fragrances behave before committing to a full cold-process setup.
Time to usable soap
A few hours after pouring, the bars are solid and ready to use.
Pros and cons
Pros: No lye, fast turnaround, easy to find bases online, beginner-friendly.
Cons: You're limited to what the base manufacturer built in. Skin-feel, hardness, and lather are mostly fixed. You also can't claim the soap is "handmade from scratch" in any meaningful sense.
If you're still deciding whether soap making is worth your time and money, melt and pour is a low-stakes way to find out. See Is Making Soap at Home Worth It? Cost and Time for an honest look at the numbers.
Cold Process: The Classic Scratch Method
Cold process (CP) is what most people picture when they think of handmade soap. You combine a lye solution with oils, stir until the mixture thickens (called "trace"), then pour it into a mold and let chemistry do the rest. The saponification reaction continues inside the mold over the next 24–48 hours, and then the soap cures on a rack for 4–6 weeks.
How it works
You dissolve sodium hydroxide (lye) in water, which gets very hot. You let both the lye solution and your melted oils cool to roughly the same temperature (anywhere from room temp to about 110°F, depending on your recipe), then combine them and blend. The resulting batter goes into a mold, is insulated for 24–48 hours, and then unmolded and cut. The bars cure on a rack until they're mild, hard, and ready to use.
Difficulty
Intermediate. Lye is caustic and must be handled carefully: eye protection, gloves, and ventilation are non-negotiable. But the process itself is methodical. Follow a trusted recipe, use a lye calculator, and it's very manageable. Most beginners make a successful first batch.
Time to usable soap
4–6 weeks from pour to first use. The wait is real, but the result is a hard, long-lasting bar with a lather you designed.
Pros and cons
Pros: Total control over oils, butters, fragrance, and additives. Large batches are efficient. The cured soap tends to be harder and milder than hot process.
Cons: Lye handling requires attention and safety gear. The cure time means you won't know if something went wrong until weeks later. Some fragrances and colorants behave unpredictably at trace.
For a step-by-step walkthrough of a first batch, see How to Make Soap at Home: A Complete Beginner's Guide. And before you buy anything, check Soap Making Supplies Every Beginner Needs so you don't over-spend on gear you won't use yet.
Hot Process: Cooked Soap, Faster Results
Hot process (HP) starts exactly like cold process, lye solution plus oils, but then you apply heat throughout the saponification reaction instead of letting it happen on its own. Traditionally this was done in a crockpot. The heat drives the reaction to completion faster, so the soap is safe to use much sooner.
How it works
After combining lye and oils and reaching trace, you move the pot to a slow cooker and cook the batter on low for 45–90 minutes, stirring occasionally. The soap goes through a distinct "applesauce" phase and eventually looks glossy and waxy. At that point, saponification is complete. You can add fragrance (carefully, high heat can kill delicate scents), then scoop or press the thick batter into molds.
Difficulty
Intermediate, similar to cold process. You still handle lye, and the thick, volcano-prone batter is harder to work with than cold process batter. Getting it into molds neatly takes practice.
Time to usable soap
1–3 days. The bars need to harden but don't require a 4–6 week cure because the saponification is already finished. Some makers use HP soap the same week.
Pros and cons
Pros: Much shorter wait. Good for makers who want natural, from-scratch soap and can't wait 6 weeks. Also slightly more tolerant of fragrance oils that accelerate trace.
Cons: The texture is rustic. Hot process soap is harder to swirl, embed, or decorate, the batter is thick and sticky. Bars are often more textured and "cottage-made" in appearance. Fragrance throw can be lower because heat degrades some scent molecules.
Rebatching: Rescuing or Repurposing Existing Soap
Rebatching (also called hand-milling) is the process of grating down already-made soap, melting it again with a small amount of liquid, then remolding it. The lye in the original soap has already reacted, it's no longer caustic, so rebatching doesn't involve active lye.
How it works
You grate or chop cured soap bars, add a small amount of liquid (water, milk, or aloe), and heat the mixture gently until the soap softens and combines. Then you press or pour it into molds. The result hardens into bars in 24–48 hours and can be used within a day or two.
Difficulty
Beginner to intermediate. The process is forgiving, but getting a smooth, even texture is harder than it sounds. Rebatched soap is often streaky or lumpy, especially on the first attempt.
Time to usable soap
1–2 days after molding.
Pros and cons
Pros: No active lye to manage. Excellent for saving a batch of cold process soap that seized, got too hot, or has a formula you want to adjust. Can be gentler than re-making from scratch.
Cons: The texture is rarely as smooth as a fresh cold process bar. Fragrance and color can look inconsistent. You're limited by whatever was in the original soap.
Rebatching is rarely a first project, it comes up most often when a cold process batch goes sideways and you want to salvage the oils and effort rather than throwing the batch away.
Frequently Asked Questions
Can I make soap without lye?
Only with melt and pour. Every true soap, including commercially made bars, is made with lye (sodium hydroxide for bar soap, potassium hydroxide for liquid soap). The lye reacts with oils and is completely consumed in the process; no lye remains in the finished bar. But handling active lye is the part beginners want to skip, which is why melt and pour exists.
Which method should a complete beginner start with?
Melt and pour if you want results today with no safety gear. Cold process if you want to learn real soap making from scratch and are comfortable following safety instructions carefully. Hot process is a reasonable second project once you're confident with lye.
How long does cold process soap need to cure, and why?
4–6 weeks. During cure, excess water evaporates and the bar becomes harder and milder. A technically safe but uncured cold process bar is often soft, draggy on skin, and dissolves quickly in the shower. Patience here improves the final product noticeably.
Is hot process soap better than cold process?
Neither is objectively better. Hot process gets you usable soap faster and is slightly more predictable with certain additives. Cold process gives you a smoother, more decorative bar and a wider range of design options. Many experienced makers use both depending on what they're making.
What equipment do I need before I start?
The list is shorter than most beginners expect. A digital scale, a stick blender, a heat-safe pitcher for lye, basic protective gear, and molds cover most cold and hot process projects. Melt and pour needs even less. See the full breakdown in Soap Making Supplies Every Beginner Needs.