Getting Started
Cold Process vs. Melt and Pour: Which Should You Start With?
Comparing cold process vs melt and pour soap making so beginners can choose the right method. Spoiler: melt and pour is the easier first step.
If you're new to soap making and trying to figure out where to begin, the short answer is this: start with melt and pour. It skips lye entirely, produces real soap in an afternoon, and lets you practice fragrance, color, and mold work before you ever touch a caustic chemical. Once that feels comfortable, cold process opens the door to complete creative and formula control.
That said, both methods have genuine strengths. This guide breaks them down honestly so you can make an informed choice, not just follow a blanket recommendation.
What Each Method Actually Involves
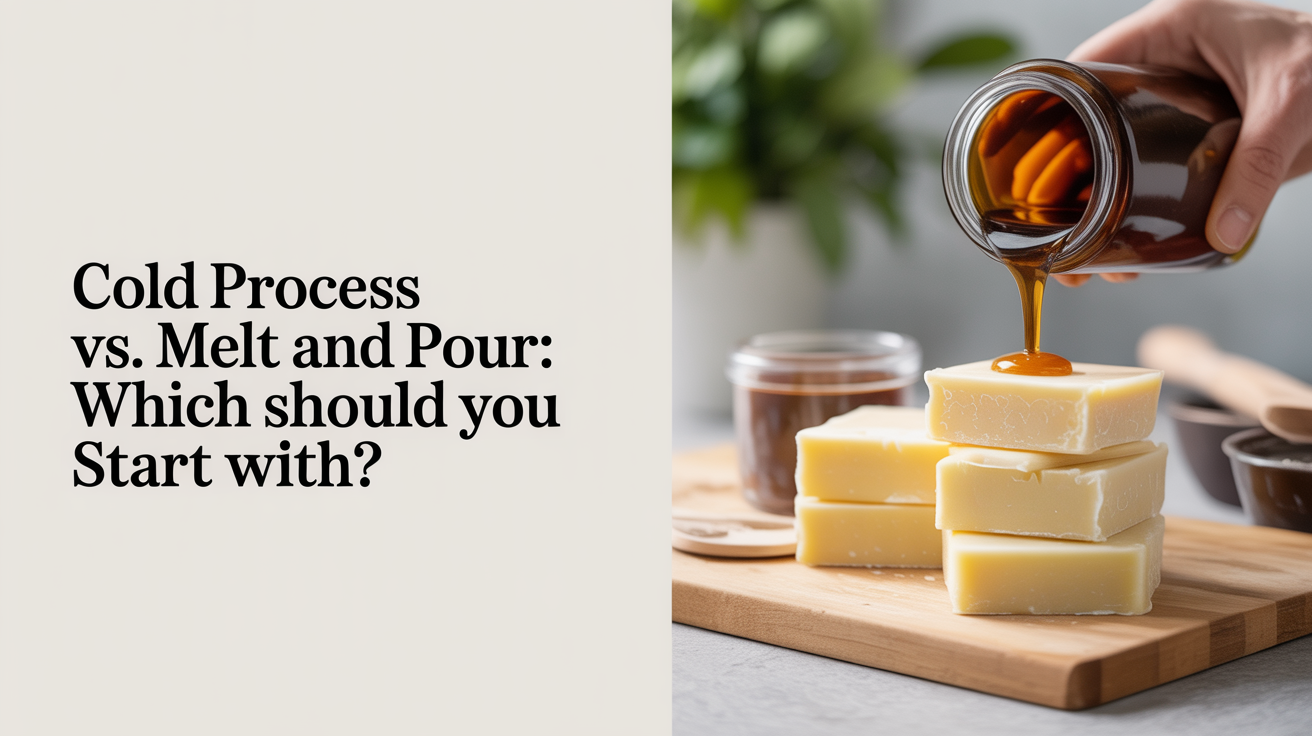
Melt and Pour
Melt and pour (M&P) uses a pre-made soap base, usually sold in blocks, that someone else has already saponified. You melt it, add your colorants and fragrance, pour it into a mold, and let it harden. No lye handling, no waiting weeks to cure, no chemistry calculation. Most batches are ready to use within a few hours.
The trade-off is that you're working with someone else's formula. You can customize the surface, but the underlying oils and their ratios are already fixed. If you want a specific lather quality, conditioning profile, or a zero-waste formula built entirely from ingredients you sourced yourself, melt and pour can't get you there.
Cold Process
Cold process (CP) is how traditional handmade soap is made from scratch. You combine a liquid (water, milk, or aloe) with lye (sodium hydroxide) to create a lye solution, then blend that with your chosen oils and butters. The chemical reaction between lye and fats, called saponification, converts the mixture into soap over several weeks.
The result is a bar you built molecule by molecule. Every oil choice affects the finished bar's hardness, lather, and skin feel. That level of control is cold process's main appeal. But it requires careful lye handling, accurate measurement by weight, and patience while the bars cure.
Lye Safety: The Biggest Practical Difference
Lye is sodium hydroxide, a highly caustic alkali. In its dry form it can burn skin on contact; mixed with water it generates significant heat and fumes. Cold process soap making requires you to work with lye safely, every batch.
This isn't a reason to avoid cold process forever. Millions of people make CP soap at home without incident. But it does require dedicated protective gear (gloves, goggles, long sleeves), a well-ventilated space, a separate set of equipment you never use for food again, and a genuine respect for what the material can do. Beginners who skip any of those steps can hurt themselves.
Melt and pour has no lye step. The base is already saponified. You're melting a solid that behaves roughly like paraffin. Children can do it supervised. It's the right entry point if you want to learn the creative side of soap making before adding a chemistry component.
For a full introduction to working safely with lye when you're ready, see The Different Methods of Making Soap Explained.
Time, Cure, and When You Can Use Your Soap
This is one of the clearest differences between the two methods.
Melt and Pour Timeline
Pour melt and pour soap into a mold, let it cool and harden (usually 1 to 4 hours at room temperature, faster in the fridge), unmold it, and it's ready to use or give away the same day. The cure time people often cite for soap doesn't apply here because the saponification happened at the factory.
Cold Process Timeline
Cold process soap needs to cure for 4 to 6 weeks after you pour it. During cure, residual lye finishes reacting, excess water evaporates, and the bar hardens into a longer-lasting, milder product. Use it too early and it may still be caustic, and it will definitely be soft and short-lived.
This means if you start a cold process batch today, you're looking at a finished bar around two months from now. That's fine once you get into a production rhythm and have batches at different stages. But for a beginner who wants to see results quickly, melt and pour gives immediate, tangible feedback.
Creative Control and Ingredient Flexibility
What You Can Customize in Each Method
| Factor | Melt and Pour | Cold Process |
|---|---|---|
| Lye required | No | Yes |
| Cure time | None (use same day) | 4 to 6 weeks |
| Oil formula control | None (base is fixed) | Full control |
| Colorants | Yes | Yes |
| Fragrance/essential oils | Yes (limited hold) | Yes |
| Swirls and layers | Yes (some techniques) | Yes (wider range) |
| Additives (milk, honey, clay) | Limited | Full flexibility |
| Learning curve | Low | Moderate to high |
| Upfront equipment cost | Low | Moderate |
| Batch size flexibility | Very flexible | Flexible |
Cold process wins on ingredient control. If you want a bar with a high percentage of castor oil for a dense, creamy lather, or a specific blend of hard and soft oils to hit a particular hardness number, you build that formula from scratch. Want to use tallow, lard, or a single-origin shea? Cold process accommodates it. Melt and pour bases come in a handful of standard types (shea, goat milk, honey, clear glycerin) and that's largely it.
On the creative side, both methods support color and fragrance work. Cold process has more swirl and design potential because you have more time to work with the batter before it sets. But melt and pour layers and embeds can be striking with much less trouble.
Equipment and Cost to Get Started
Melt and pour requires almost nothing beyond a microwave-safe container, a thermometer, a mold, colorant, and fragrance. You can spend under $30 on a starter kit and make your first bars the same afternoon.
Cold process requires more upfront. You need a digital scale (non-negotiable, soap making is by weight not volume), a stick blender, a dedicated stainless steel or high-density polyethylene pitcher for lye, separate bowls for oils, goggles, and gloves. A reasonable starter setup runs $60 to $120 before you buy ingredients.
You'll also need to run your formula through a lye calculator before every batch to ensure correct saponification. Software like SoapCalc or Brambleberry's lye calculator makes this straightforward, but it's a step that doesn't exist in melt and pour.
For a complete list of what you'll need for either method, the Soap Making Supplies Every Beginner Needs guide covers both setups in detail.
Our Recommendation
Start with melt and pour. Spend a few batches learning how fragrance behaves in soap (it's different from candles), how colorants blend, which molds you like working with, and how long things need to cool. Build some intuition. Give bars away and get feedback on scent and skin feel.
Then, when you want more than the base can offer, move to cold process. You'll arrive there with real context, and the lye safety steps will feel like a manageable addition rather than an overwhelming entry requirement.
Melt and pour isn't a lesser version of real soap making. It's a different tool that produces genuinely usable soap. Many experienced makers keep both methods in rotation depending on the project. But as a first step, it removes the steepest barriers and lets you focus on learning what you can control.
For a broader look at all the methods available, including hot process and rebatch, see The Different Methods of Making Soap Explained. And if you're ready to jump straight into making your first bar from scratch, How to Make Soap at Home: A Complete Beginner's Guide walks through it step by step.
Frequently Asked Questions
Is melt and pour soap "real" soap?
Yes. Melt and pour bases are genuine soap, not detergent. They've gone through saponification at the manufacturing stage. The cleansing and lathering you get from a melt and pour bar is real soap chemistry; you're just starting from a finished base rather than building it from raw materials.
Can I add any oil I want to melt and pour soap?
You can stir a small amount of extra oil into melted melt and pour base as a skin-conditioning additive (sometimes called "superfatting at the surface"), but it doesn't integrate the way it would in cold process, and too much will cause the bar to sweat or go rancid. If you want to use specific oils in specific proportions, cold process is the right method.
Does cold process soap still contain lye?
In a properly made, fully cured cold process bar, no lye remains. Saponification consumes all the sodium hydroxide. The lye is a reactant, not an ingredient in the finished product. This is why the cure period matters: it gives the reaction time to complete fully.
How do I know if a cold process bar is safe to use?
After a 4 to 6 week cure, test a small piece by placing it on the tip of your tongue. If it "zaps" (a sharp, electric sensation), it still has active lye and needs more cure time. A finished bar will feel mildly soapy at worst. pH strips can also confirm the bar is in a skin-safe range (around 8 to 10).
Which method is cheaper in the long run?
Cold process is generally more economical per bar once you're up and running. Oils and lye cost less per ounce than premade melt and pour base. But the upfront equipment investment is higher, and mistakes are more expensive (a whole batch with a lye miscalculation is wasted). Melt and pour keeps per-batch risk low while you're learning.