Melt & Pour
How to Add Layers and Embeds to Melt and Pour Soap
Learn how to make layered melt and pour soap and add embeds for professional-looking bars. Step-by-step guide for beginners with temperatures and tips.
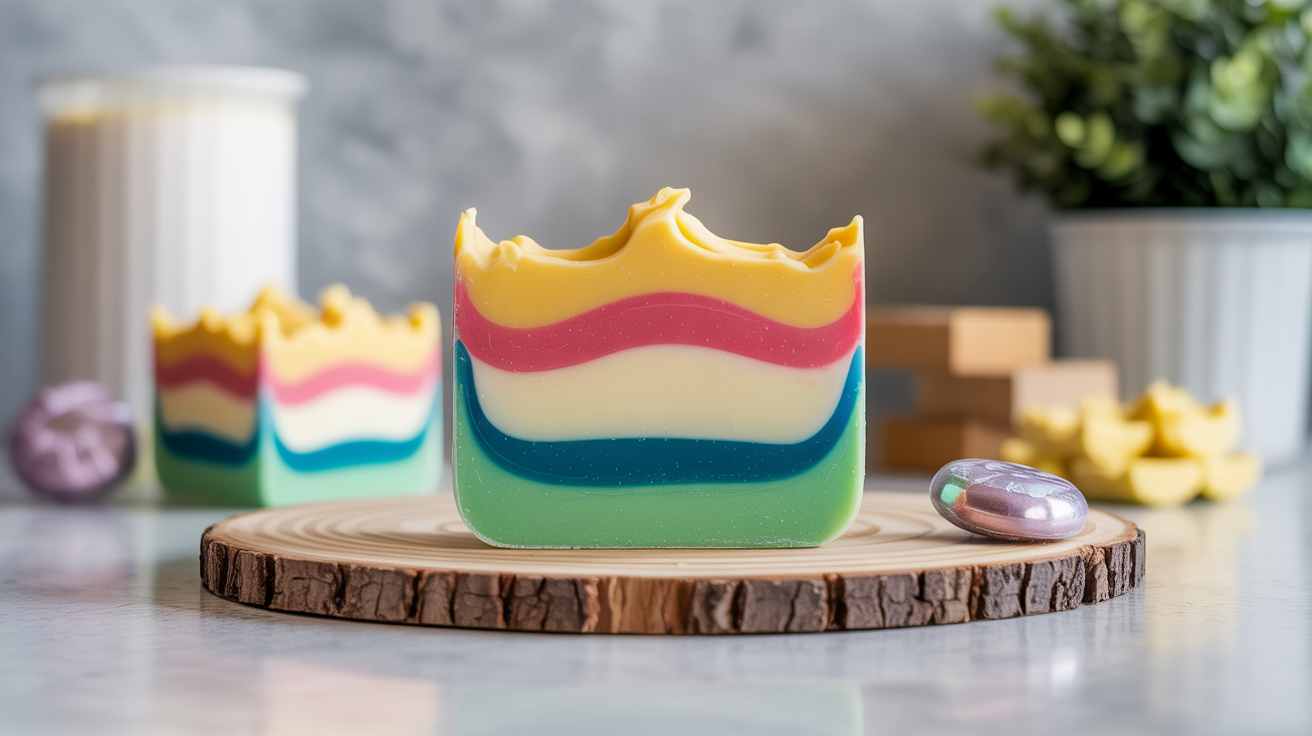
Layered melt and pour soap is one of the most satisfying ways to level up from plain single-pour bars. You get clean color bands, embedded shapes, and the kind of cross-section that makes people genuinely curious about how you made it. The process is forgiving enough for beginners, but there are a handful of temperature and timing details that separate a bar that looks polished from one with separated layers or sunken embeds.
This guide walks through the full process: how to layer soap, how to make and place embeds, and how to troubleshoot the most common problems. If you are new to melt and pour altogether, start with our step-by-step beginner guide first, then come back here once you have a basic pour under your belt.
What You Need Before You Start
You do not need a long equipment list, but a few items make layered work much easier.
Base and colorants:
- A clear melt and pour base (layers show color best in clear; white gives pastels). Check our guide on choosing bases if you are unsure which to buy.
- Soap-safe colorants, split into separate containers for each layer. For tips on achieving consistent hues, see how to color melt and pour soap.
Tools:
- A kitchen scale
- A heat-safe pitcher or large measuring cup (one per color, ideally)
- A thermometer (infrared or probe)
- Rubbing alcohol (91% isopropyl) in a spray bottle
- A soap mold with straight sides (loaf molds work well; silicone cavities work for individual bars)
- Fragrance or essential oil if desired (0.3 oz per pound of base is a safe starting rate)
Safety note: Melt and pour bases are pre-made, so you are not handling fresh lye. The saponification is already done for you. That said, melted soap can reach 160-170°F (71-77°C) and cause burns. Wear heat-resistant gloves while handling your pitcher, and keep children and pets out of the workspace.
How to Layer Melt and Pour Soap
The biggest mistake with layered soap is pouring a second layer while the first is either too warm or too fully set. Too warm, and the second layer melts through the first. Too fully set, and the layers will not bond and will separate later. The sweet spot is a firm skin with a soft interior.
Step 1: Plan your layers. Decide how many layers you want and what colors. Two or three distinct bands are easier to manage than five or six on a first attempt.
Step 2: Melt and pour the first layer. Melt your base in a microwave in 30-second bursts, stirring between each, until just melted. Add colorant and fragrance, stir gently to avoid bubbles, and check the temperature. Pour at around 120-130°F (49-54°C). Higher temperatures in the mold mean a longer wait before you can add the next layer. Pour into your mold, then mist the surface with rubbing alcohol to pop surface bubbles.
Step 3: Wait for a firm skin. Let the first layer cool until the surface is firm enough to hold the weight of a new pour without denting but is still warm to the touch, roughly 15 to 30 minutes depending on room temperature and layer thickness. If you press the center gently with a fingertip and it does not cave, you are ready.
Step 4: Spritz with alcohol before pouring. This step is not optional. A quick mist of isopropyl alcohol on the surface of the first layer helps the new layer bond to it. Do it right before you pour, not a few minutes before.
Step 5: Pour the second layer slowly. Melt your second color, let it cool to 115-120°F (46-49°C), and pour it gently onto the back of a spoon held just above the first layer. Pouring onto a spoon disperses the pressure so you are less likely to break through the surface below. Mist the top with alcohol again.
Step 6: Repeat as needed, then let fully set. For three or more layers, repeat the wait-and-pour cycle. When all layers are poured, leave the mold undisturbed for at least 4 hours, or overnight.
How to Make Soap Embeds
Embeds are small soap shapes poured in one mold and then suspended inside another bar. Hearts, stars, letters, and simple geometric shapes are all common. You can buy silicone candy molds to create embeds in almost any shape.
Make embeds well ahead of time. Embeds need to be fully set and at room temperature before you use them. Pour them at least a few hours before your main project, or the day before. If you use warm embeds, they can melt partially into the surrounding soap and lose their defined edges.
Unmold and cut embeds as needed. Pop them out of their molds and trim any rough edges with a sharp knife. If you are embedding cubes or chunks, cut them from a previously poured slab.
To suspend an embed mid-bar: Pour your base layer, wait until it skins over, place your embeds on top, press gently so they sit level, then pour the covering layer at a lower temperature, around 110-115°F (43-46°C). Cooler soap is less likely to melt the edges of your embed. The embed will be visible as a cross-section when you slice the finished bar.
To set embeds on top: Pour your base and let it firm up completely. Place embeds on the surface and pour a thin, cool layer of clear base over them to lock them in place. This works well for decorative pieces you want visible on the top of a bar rather than hidden inside.
Temperature Quick-Reference
| Action | Target Temperature |
|---|---|
| Normal single-layer pour | 120-130°F / 49-54°C |
| Pouring over a skinned first layer | 115-120°F / 46-49°C |
| Pouring over or around embeds | 110-115°F / 43-46°C |
| Embeds before placing | Room temperature (fully cooled) |
Cooler pours take slightly longer to set but give you more control and less risk of melting through your previous layer or warping your embeds.
Common Problems and How to Fix Them
Layers separated when unmolding. Usually caused by skipping the alcohol spritz or pouring too cool (below 110°F / 43°C). Press the bar back together and use it as-is, or remelt the whole thing and start over.
Second layer melted into the first. The pour was too hot, or you did not wait long enough for the skin to form. Next time, let the first layer firm up for a few more minutes and cool your second pour to 115°F (46°C) before adding it.
Embeds floated to the top. The soap around them was too fluid when poured. Embeds that are lighter than the surrounding base will rise if the base is still very liquid. Wait a little longer before pouring the covering layer, or use a toothpick to gently reposition embeds as the soap firms up.
White film between layers. A thin white layer between two pours usually means the first layer cooled to the point of sweating before you poured the second. Keep your workspace warm and do not leave the first layer sitting too long before continuing.
Bubbles trapped inside. Pouring too fast traps air. Slow your pour and tilt the mold slightly. Spritzing each layer with alcohol before the next pour also reduces surface bubbles.
Frequently Asked Questions
Can I use fragrance in every layer? Yes, but keep the total fragrance load in mind for the finished bar. If your recipe uses 0.3 oz of fragrance per pound of base and you have three layers of equal size, you would add about 0.1 oz of fragrance per layer rather than 0.3 oz per layer. Too much fragrance can make soap weep (sweat oily droplets) or go soft.
Do I need a thermometer, or can I judge by eye? A thermometer is worth using, at least while you are learning. The visual cues for 115°F versus 130°F are subtle, and the difference matters when you are pouring over a previous layer. An inexpensive infrared thermometer makes it quick.
How long do layered bars need to cure? Melt and pour does not require the long cure of cold-process soap, but letting bars rest for 24 to 48 hours before using or gifting them gives the layers time to fully firm and the fragrance to settle. There is no lye saponification happening in M&P, so there is no pH concern requiring a cure, but patience still pays off in a harder, longer-lasting bar.
Can I mix different soap bases in the same bar? You can layer a clear base and a white base in the same bar, and the contrast creates a nice effect. Avoid mixing bases that have very different melting points or additives, as the layers may not bond well or may sweat at different rates.
Why does alcohol help the layers stick? Rubbing alcohol slightly dissolves the surface of the set layer, giving the new pour something to grip. It also pops surface bubbles. Use it generously between every layer, but let most of the alcohol evaporate for a couple of seconds before pouring, or you may get a slightly soft, wet surface rather than a clean bond.